Where is the fuse box in a Ford Transit van?
You’re on the road and suddenly an electrical component in your Ford Transit van stops working. Finding the fuse box quickly can be a lifesaver.

The fuse box in your Ford Transit holds the answers to many electrical problems, from headlights and windscreen wipers to your radio and other essentials. Knowing where it is will save you time and stress.
Not only will quick access to the box help you fix problems but it will also give you a better understanding of your vehicle. With this knowledge, you’ll be able to handle minor electrical gremlins that pop up on the road and have a smoother and safer journey.
What is a Fuse Box?
The fuse box is a key part of any vehicle’s electrical system, including the Ford Transit. It breaks the electrical circuit when a component overloads or short circuits to prevent fires or damage.
What is its Role in Vehicle Electrical Systems?
Each fuse in the box connects to a specific component. If a circuit becomes overloaded the fuse will blow and cut off power to other parts of the vehicle’s electrical system. In Ford Transit vans this box is critical for functions like headlights, radio, wipers and air conditioners.
Typical Locations in Ford Transit Models
The Ford Transit models have the fuse box in three main areas:
- Under the : Often on the driver’s side, this fuse box is usually easy to get to. This area contains fuses for interior like lights, wipers and stereo.
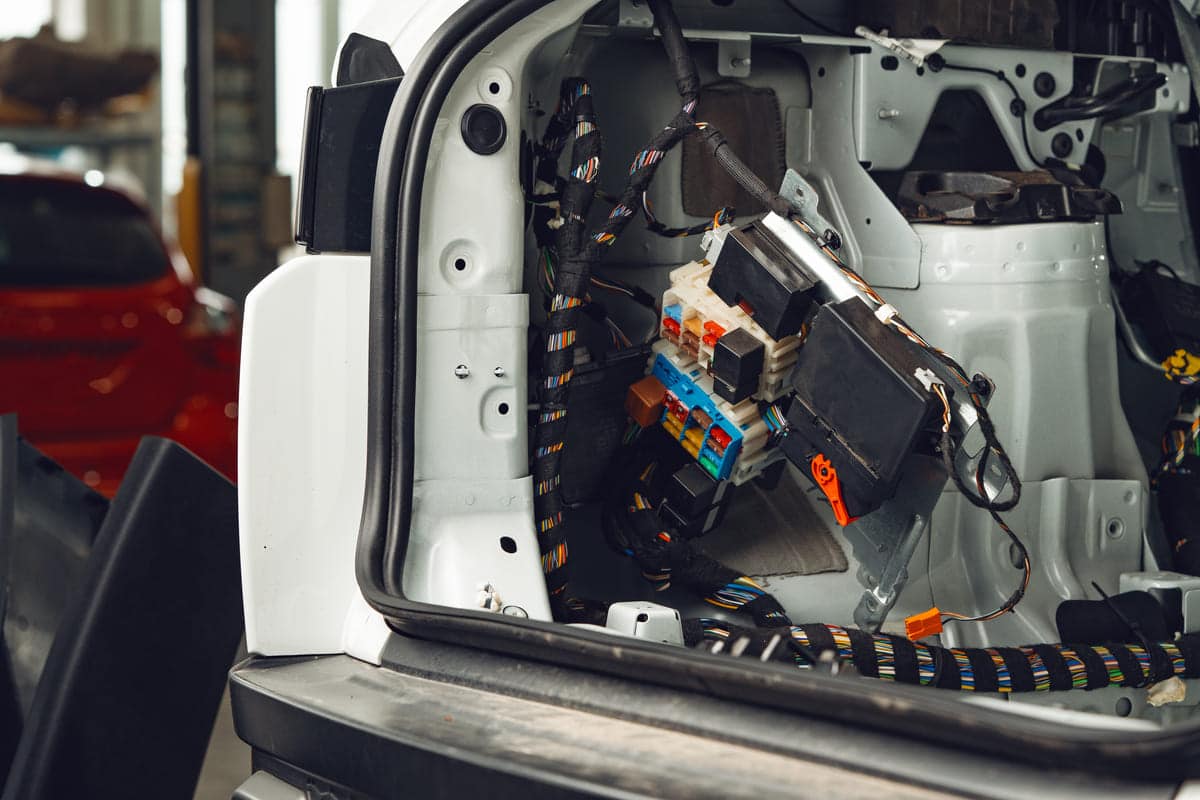
- Near the Glove Box: In some models especially those before 2013 there’s a fuse box on the passenger side hidden behind or under the glove box. This area protects essential electronics like air con and defogger circuits.
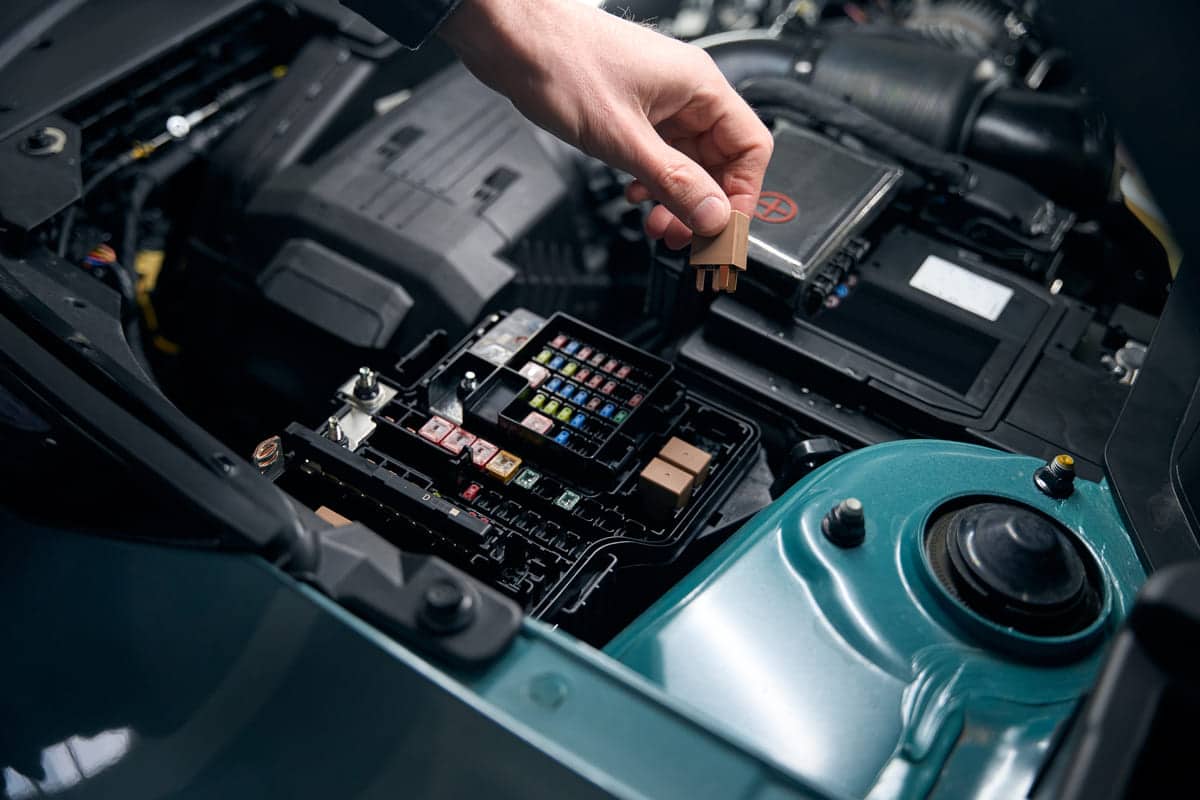
- Under the Hood: The under-hood fuse box, common in most Ford Transit vans, controls larger systems like components, battery circuits and headlights. This area is usually near the battery for easy access.
References
- Ford Motor Company. Where can I find the fuse specification chart?. Retrieved from on 6 November 2024.
Model Year Variations
Ford Transit fuse box locations can vary by year. Here’s a general overview:
- Pre-2013 Models: These older models have fuse boxes near the glove box or under the dashboard on the driver’s side. They have smaller electrical systems so the boxes may vary slightly.
- 2014-2023 Models: In these models the fuse box is under the dashboard on the driver’s side or under the hood near the battery. This gives faster access for repairs or diagnostics.
- 2024 and Newer Models: The latest models keep the under-hood fuse box layout but may have additional access points in the cabin especially on the driver’s side.
Step-by-Step: How to Locate the Fuse Box in Various Ford Transit Van Models
Knowing where the fuse box is makes troubleshooting electrical issues easy. Here’s a guide to find the fuse box in Ford Transit vans by model year.
Pre-2013 Models
In Ford Transit models before 2013 the fuse box can be found in one of these areas:
- Under the Dashboard: On the driver’s side, this is one of the most common areas for earlier models. Look under the steering , often behind a small cover that can be removed without tools.
- Near the Glove Box: In some pre-2013 models the fuse box is behind or under the glove box. Access requires opening the glove box and removing the lower panel to get to it.
2014–2023 Models
From 2014 onward, Ford made the fuse box easier to find, mainly under the dashboard and under the hood:
- Under the Dashboard on the Driver’s Side: Easily accessible, this box is usually placed on the driver’s left side. A small removable panel will reveal the fuses, designed for quick access.
- Under the Hood: Another common spot, especially in the engine bay near the battery. This box houses fuses for larger systems, such as headlights and engine circuits.
2024 and Newer Models
From 2014 onwards Ford made the fuse box easier to find, mainly under the dashboard and under the hood:
- Under the Dashboard on the Driver’s Side: Easy to get to, this box is usually on the driver’s left side. A small removable panel will reveal the fuses, designed for quick access.
- Under the Hood: Another area, especially in the engine bay near the battery. This box has fuses for larger systems like headlights and engine circuits.

Detailed Ford Fuse Box Layout and Functionality
Knowing the layout of the fuse box in your Ford Transit van makes troubleshooting and maintenance easier. Here’s a information to reading the fuse box diagram and identifying the fuse functions.
Fuse Box Diagram and Labels
The fuse box diagram is a visual guide that shows where each fuse is and what it does. Each fuse slot is numbered and these numbers correspond to the electrical components:
- Diagram Overview: Each fuse in the diagram has a unique label. For example “F15” might be the headlights, “F10” might be the wipers. These labels will help you find the specific fuse quickly.
- Reading the Diagram: Look for a small diagram on the inside of the fuse box cover. This diagram shows the number of each fuse so you can find each component without confusion
Common Fuse Labels and What They Control
Knowing which fuses control what allows you to troubleshoot quickly for common issues. Here are some common fuses and what they control:
- Headlights (usually F15 or F16): Headlights power is controlled by this fuse. If your headlights aren’t working check this fuse first.
- Windshield Wipers (F10): Windshield wipers power is usually controlled by a fuse in the F10 range. Replacing this fuse will fix wiper issues.
- Auxiliary Power (F32 or F33): This fuse powers the USB ports and auxiliary outlets, for charging devices.
References
- Fuse-Box.info. Ford Fuse Box Diagrams. Retrieved from on 06 November 2024.
How to Check and Replace a Fuse in Your Ford Transit
Replacing a blown fuse in your Ford Transit is a simple process with the right tools and steps. Here’s what you need to know to check and replace a fuse safely and correctly.
Tools Needed
Get these tools before you start the fuse check or replacement:
- Fuse Puller or Needle–Nose Pliers: To remove the fuse.
- Replacement Fuses: Make sure they are the correct amp rating as per the .
- Flashlight: To see the fuse box and its components clearly.
- Gloves: For extra and to prevent accidental contact with electrical components.

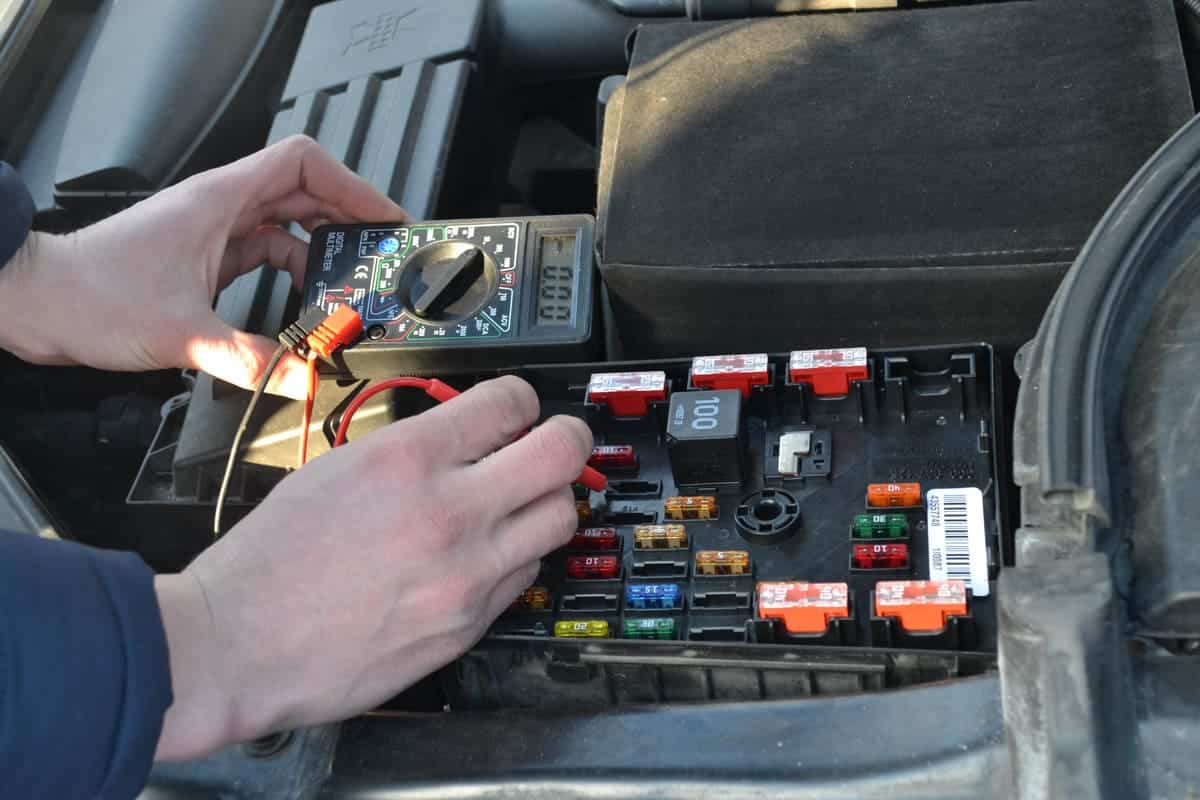
How to Identify a Blown Fuse?
Follow these steps to check if a fuse is blown:
- Find the Fuse: Use the diagram on the fuse box cover.
- Remove the Fuse: Use a fuse puller or needle-nose pliers to remove the fuse.
- Check the Fuse Wire: Look at the metal strip inside the fuse. If it’s broken or blackened it’s blown and needs to be replaced.
Safety Tips for Fuse Replacement
Safety first when working with any electrical component. Remember:
- Turn Off the Engine: Always turn off your van to avoid electrical shocks or short circuits.
- Use the Correct Fuse Rating: Replace the blown fuse with one of the same amp rating to avoid damaging the circuit.
- Check Fit: Make sure the fuse is seated properly in its slot to avoid loose connections or malfunctions.
Conclusion:
Knowing where your Transit Van fuse box is is key to quick repairs. Whether it’s a minor issue or full electrical troubleshooting, knowing where the fuse box is will save you time, effort, and potential repair costs. With access to the fuse box, you can check or replace fuses quickly and safely.
For those looking to go deeper into repair and maintenance, the OEM Service Manual provides a detailed guide, ensuring that each step of the process is handled confidently and accurately.


